Laban's LeatherCrafting Slideshow

Welcome to my Leather craft Blog

Hello and welcome to my Leather crafting blog. This site is not a how to guide or similar it is simply a place for me to share my leatherwork projects and celebrate my new found hobby. Please feel free to comment on my work and have a nice day.

Cheers

Laban

Saturday, 24 March 2012

Clipper Wallet

Woo Hoo I've found time this weekend to complete another project...I'm on a roll :)
This weeks project was a Clipper Wallet from Tandy Leathercraft.
I made a lot of changes to the suggested tooling and dying instructions on the packet.

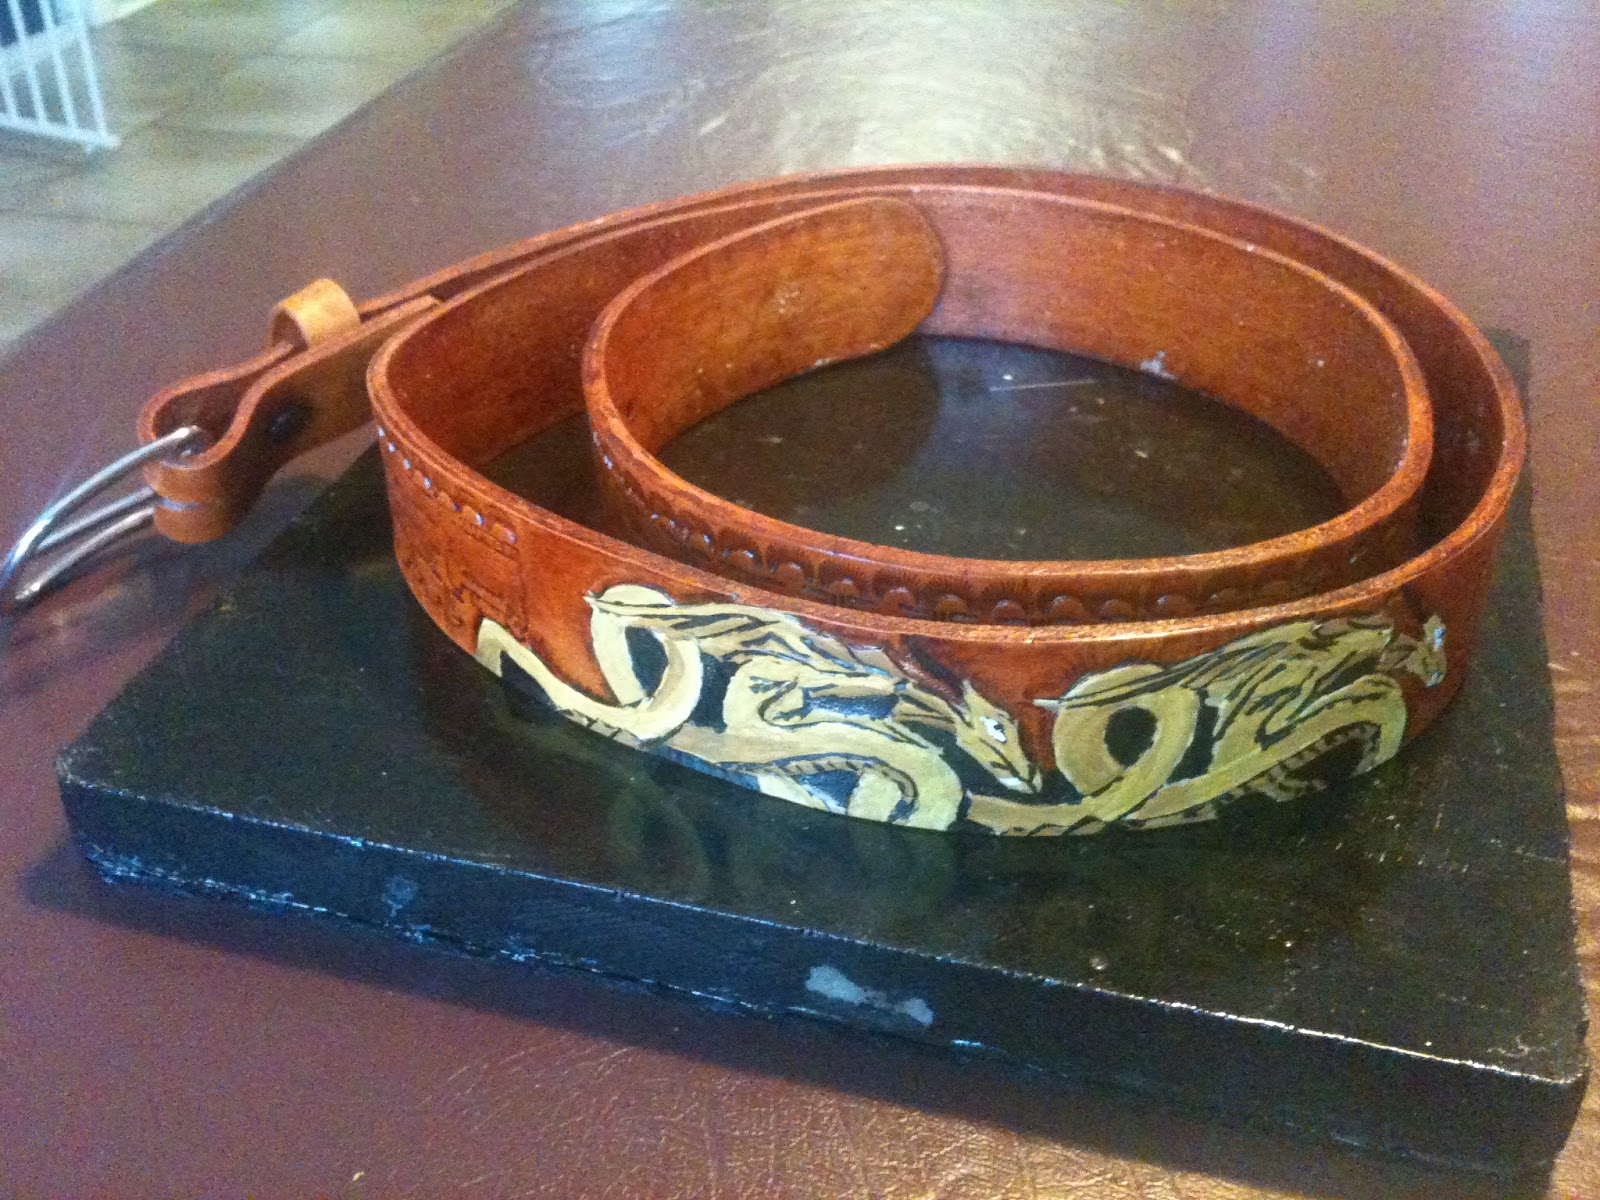
Firstly i went looking on the internet and found some Celtic designs. Believe it or not but Tattoo catalogues are an outstanding source of designs for leathetcraft tooling. Both of the designs i used on this project were tattoos. I simply printed the pictures and traced the image directly onto the damp leather. After that i simply bevelled the outside of the designs and used a small pear shader to bevel the inside areas. 

As for the dye work i used Emerald Green to highlight the designs with Black dye backgrounds. Once dry i resisted the designs. The next day i stained the pieces and added a final resist to make the wallet more durable.

I wasn't sure how the stitching would turn out because the project came with White thread. However once finished i actually like the thread as i feel it is a nice contrast to the overall dark colouring of the project.

A few weeks ago I expressed in a post that working with colour was something that i needed to work on and better understand. I feel now that i'm getting a handle on this element of leather crafting. I now know that colour needs to be applied in stages and "built up" to the required level. between colour coats you should "rub" off excess dye and be prepared to apply more than one coat. Allowing resist "sheens" to dry properly is also key. If you don't then the dye will "stain" the colour.

I have also decided to start building up a hand cutting / stitching set of tools and to buy some "Veg tan" leather. I have enjoyed making the pre cut projects from Tandy Leathercraft but now want to try my hand at making projects from scratch. So ebay here i come.

Clipper Wallet - Celtic Pattern

Clipper Wallet - Celtic Dragon

Clipper Wallet

Tuesday, 20 March 2012

Leather Journal Cover

Busy busy busy.....I wish I had more time for my leather working. I plan to do a project but something always comes up or needs to be done. I finally found time this week to sit down and enjoy a new project. Pene created a journal of inspirational thoughts, sayings and images using her awesome "stamping up" skills, so i offered to make her a leather cover for it.

The border patterns were created with a craft aid and swivel knife. The raised leather disc in the centre with a flower was actually my first attempt at coloured leatherwork (see my post in February of the coloured coaster) that i glued to the cover as a feature.

As you can see i have greatly improved my colouring skills since my last attempt on the Dragon Belt. 

I think that i have learnt that the colouring / dying process is an exercise in patients. The less you rush the better the outcome.

I think Pene was very pleased with her journal cover.....very satisfying outcome for all :)

Leather Journal Cover

Sunday, 26 February 2012

Ipad Cover

Well my latest and if i do say so myself greatest project is finally complete. This project took 2 weekends, including careful planning, tooling, knife work and a dye process with 4 stages. I used all of the techniques i have learnt to date and the final result looks pretty good if i do say so myself.

The original project designs look like this

Tandy Leather Craft Ipad Kit
My final design 
Front - Dragon Scales with Dragon

Back - Dragon Scales with Initials in Scroll

Ipad Cover

This iPad cover features a Dragon Scale effect and 2 central framed sections with a Dragon and my Initials in a winding scroll.

The colouring includes Saddle tan for the images, Black Dye for the borders and Briar Brown for the Scales and border.

Stitching is Double Loop

I really enjoyed making this :)

Woods Tool - Leather Sheath

This weeks leather crafting project was a leather sheath for a small flashlight and small knife.
Overall it was a very easy project to make with the only real challenge being the stitching at the end through 4 layers of leather. Luckily i recently bought a stitching pony and this made it much easier to do.
I gave this project to my father in law and i think he was pretty happy about it. Especially as it was embossed with his initials to personalise it.

Woods Tool - Leather Sheath

Sunday, 5 February 2012

Top Notch Billfold

Well I'm back at work and finally had time this weekend to complete another leather craft project. This time I created a "Top Notch Billfold". As usual I altered the design and used two craft aid dragons and a craft aid banner in place of the supplied flower embossing pattern. I also textured the background and used color dye to highlight the dragons. I again used a double loop lacing pattern to stitch the project together with much greater success than last time. To finish the project I used Eco Flo Super Sheen as a resist to create the two toned background effect. Overall I feel this project turned out rather well.

Top Notch Billfold

Top Notch Billfold

Thursday, 19 January 2012

Dragon Belt

My Latest project is a leather Belt with a pair of dragons emblazoned in the centre. The dragons are traditional chinese dragons from the Tandy Leather Factory "dragons" craft aid No 76606. The belt also has my favourite "basket weave" pattern that i used on the Mobile Phone holder and back of my ID wallet.

I stained the leather with Eco Flo Saddle tan dye and then after it had dried I painted the dragon design with Yellow, Orange, Black and White.

I guess that for my first real attempt at painting a detailed design i did ok..... I think i need to research how to mix and apply dye to a design a little more. I also want to research more on how to "finish" the leather because i think that there is room for improvement there also.

I discovered a fantastic new leather craft website today http://leatherworker.net and I'm already discovering better ways to colour designs and finish my leather projects.

Dragon Belt

Friday, 13 January 2012

Smart Phone Cover

My latest project is a cover/belt holder for my iPhone. This was a nice project to complete, taking about 2 days including dye drying time. Techniques that i have used in this project include, the use of a craft aid, letter stamping, texture stamping and dye layering to achieve a 3 coloured effect. I also used resist around the edges to keep some of the original leather colour. Overall a great little project :)

Front View

Inside View

Back View

Closed View (with iPhone inside)